I am confident that many of you, before starting a DIY project, have searched online for some guidance, perhaps even watched a couple of our youtube videos in the process.
There are as many ideas as bloggers, youtubers and influencers in the field, each one with a different version or a slight variation from others.
Here is my version if you are interested to get to start a project of your own.
Q: WHY DO I NEED TO DO A DIY?
A: First and foremost you have to look at your personal perspective. Do I have a piece of furniture or an item which I can save from the pit and revamp? Is it worth redoing? Does it have value? Is it sturdy? You can ask your own questions and answer them. But if you have a kitchen, for example, that looks tired or outdated, and it is still functioning, or you do not have the finances to replace it, then your answer should be, ‘let me have a try’.
So it is good to know your furniture, its story and its strength to survive another generation. And obviously how much you can afford in money terms.
Q: WHAT TOOLS DO I NEED?
A: You have to know, and have, your tools.
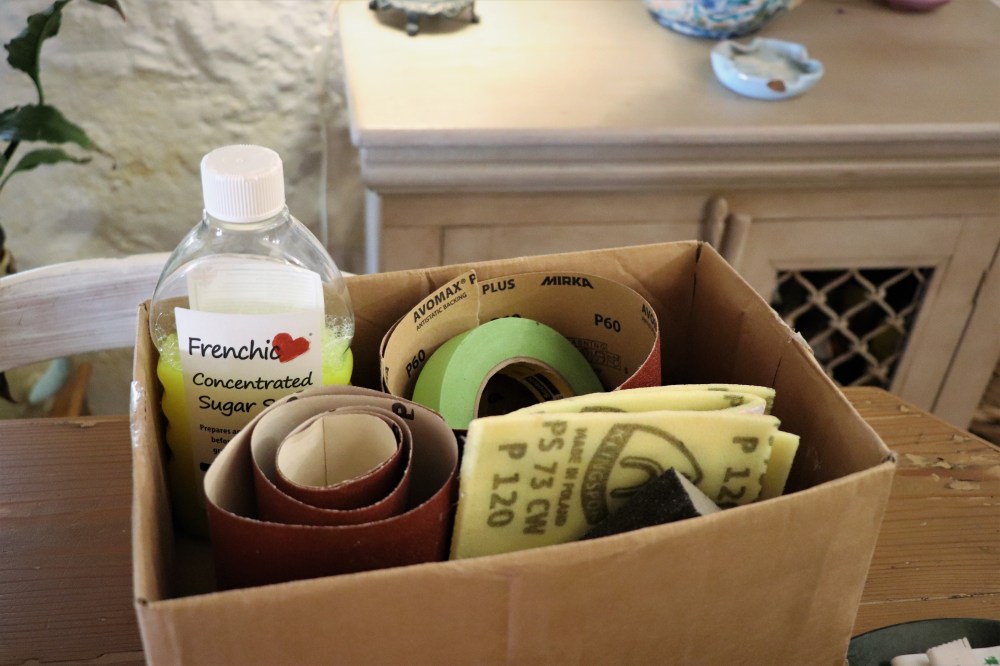
Usually these are what you need: Sugar soap, wood filler, scraper, cloths, a fine grid sand paper, masking tape, good quality brushes, paint and possibly a sealer or wax to finish.
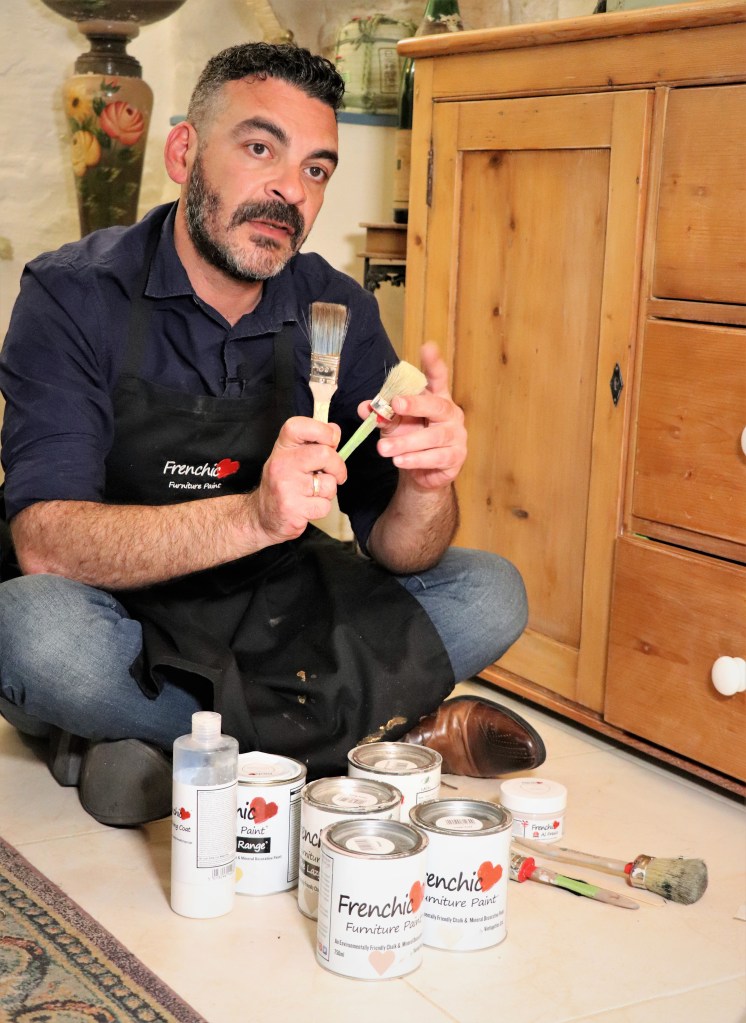
I go at lengths to make sure I am using the proper eco-friendly products, which are not harmful to the environment, are pet-friendly, child-friendly and also make the work easier, like Frenchic Furniture Paint. I am always safe with these products and they help me get the finish I want. With the Lazy range or Al Fresco range, I do not need to seal afterwards. So it is a good go.
Q: HOW DIFFICULT IS IT?
A: You need to know your limits. If you are a beginner it would be ideal to start with the basics. You can always learn something new by practicing at home or doing some advanced courses, such as decoupage, frottage, image transfer, blending and what not. If you have that flair for trying out new things just go ahead. You can practice on unwanted furniture or simply on wood planks.
Q: AND FROM WHERE DO I START?
A: The first thing you have to do is give a good clean to remove any pollutants collected during the years, and also chemicals used in cleaning products which would have gathered. The best thing would be a good wash with sugar soap, or alternatively white vinegar, bicarbonate of soda and water.
Once cleaned check if you have any woodworm or termites which might jeopardise the lifetime of the furniture you are painting. There are good quality products in the market to get rid of them. Alternatively there are companies who can fumigate the furniture for you.
Next in line check if you need to fill some holes or do minimal wood filling. Let dry and sand lightly to create a key for the paint to adhere to. And now you are ready for the painting part!
Apply the paint according to instructions given on the product, or according to guidance from your stockist. Once done make sure you clean and preserve your brushes for future use.
The last step would be waxing or sealing your paint (if needed).
And there you have it!! A (hopefully) simple guide to a new world of DIY.
Q: AND IF I DON’T LIKE IT?
A: No worries! It is just paint, which can be removed or repainted on. So no stress.
Just enjoy the moment.
Make it a journey of discovery.
Salvage your old furniture.
And be happy with your achievements!